
Packaging Guides
The Ultimate Guide to Custom Bottle Labels for Growing Brands
Cubit Team
July 8, 2026
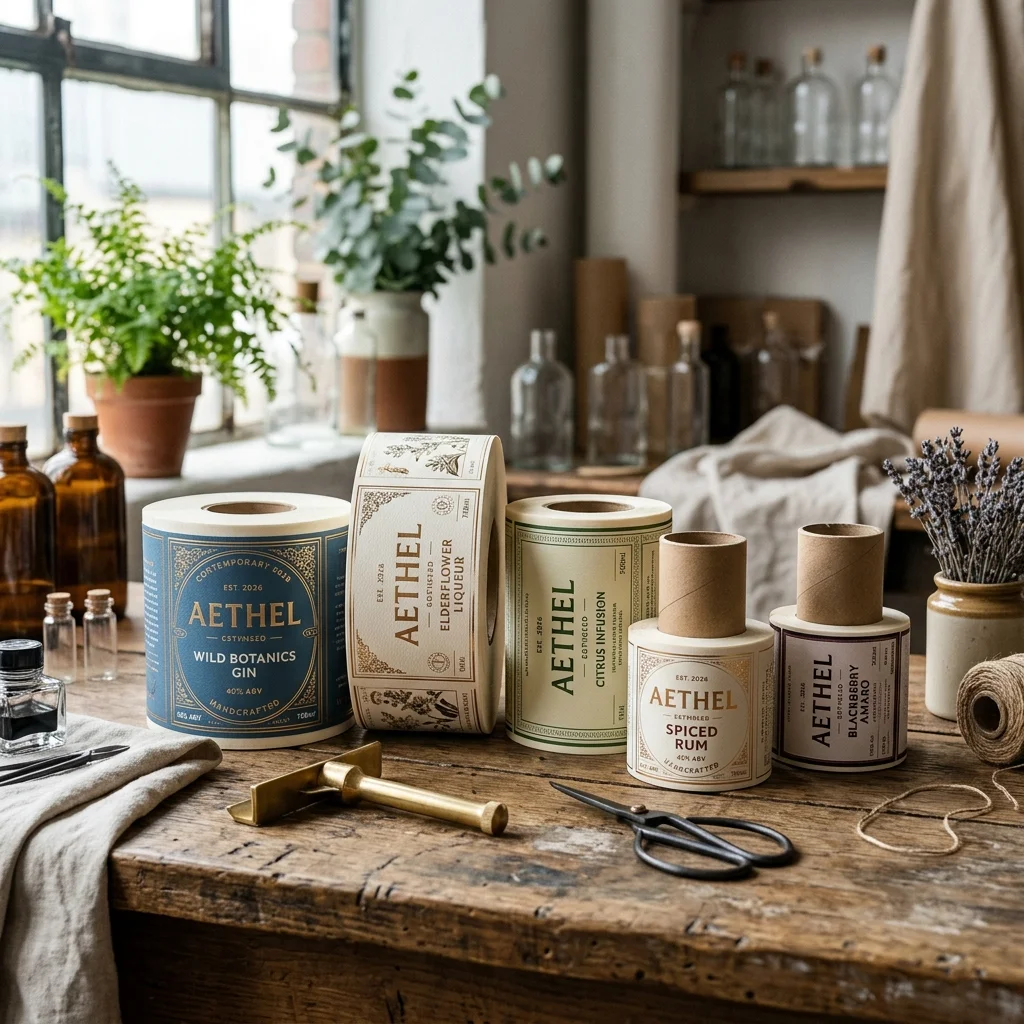
Selecting the right custom bottle labels is a critical step in taking a product to retail shelves. At its simplest, a bottle label is a specialized substrate combined with a high-performance adhesive, engineered to bond with glass, polyethylene terephthalate (PET), or high-density polyethylene (HDPE) containers. For growing brands, these labels do more than just identify a product, they must withstand moisture, UV exposure, friction during shipping, and tight retail display standards while staying securely attached. Choosing the wrong combination of material and adhesive leads to peeling, bubbling, or ink running, which can ruin a brand's reputation and lead to costly product recalls.
Navigating the technical side of label printing can feel overwhelming. You have to consider release liners, unwind directions, face stocks, and finishing laminates. This guide breaks down the core elements of bottle labeling, giving you the practical data and technical details you need to make smart purchasing decisions.
In this guide:
The face stock is the actual material your design is printed on. Your choice depends heavily on where your product is stored and how it is used. If you put a standard paper label on a craft beer bottle that sits in an ice bucket, the paper will disintegrate within minutes.
For products exposed to moisture, oils, or heavy handling, synthetic films are the best choice. Biaxially-oriented polypropylene (BOPP) is the workhorse of the bottle packaging industry. BOPP is highly resistant to water, oil, and chemicals, making it ideal for cosmetics, craft beer, and hot-fill beverages. It comes in clear, white, and metallic finishes. Clear BOPP gives a clean, no-label look on glass or clear plastic bottles, while chrome or metallic BOPP creates a high-end reflective finish.
Paper face stocks work well for dry environments. Uncoated papers offer a rich, tactile feel that is perfect for wine bottles, spirits, and gourmet food jars. These papers can be treated with wet-strength additives to help them hold up in damp environments, but they are still vulnerable to staining from oils. Textured estate papers are a popular option for high-end products, giving a classic, crafted look that synthetic films cannot replicate.
To protect your print from scuffs, moisture, and UV light, you need a protective finish. This can be a liquid varnish or a solid laminate. Matte finishes reduce glare and offer a modern, soft look, while gloss finishes make colors pop and provide maximum water resistance.
An excellent label design means nothing if the adhesive fails. Adhesives are formulated for specific surfaces and environmental conditions. You must match the adhesive to both the bottle material and the temperature of the room when the label is applied.
Glass and plastic have very different surface energies. Glass has a high surface energy, making it easy for adhesives to bond with it. Plastics like HDPE or polypropylene have low surface energy, which requires a more aggressive adhesive to prevent the label from lifting at the edges. Additionally, if you apply labels to bottles that are cold or damp, a standard permanent adhesive will not bond. You will need a special cold-temp or all-temperature adhesive.
Here is a quick look at how the main adhesive types compare:
| Adhesive Type | Application Temp Range | Service Temp Range | Best For | Key Limitation |
|---|---|---|---|---|
| Standard Permanent | 35°F to 50°F | -65°F to 200°F | Glass jars, dry cosmetics, cardboard boxes | Will not bond to cold or damp surfaces |
| All-Temperature | -20°F to 40°F | -65°F to 200°F | Cold-fill juices, refrigerated foods, damp bottles | Slightly higher material cost |
| Removable | 32°F to 50°F | -40°F to 180°F | Promotional labels, returnable glass bottles | Low ultimate bond strength |
| Heavy-Duty Acrylic | 10°F to 50°F | -40°F to 300°F | Squeeze bottles, essential oils, shower products | Hard to reposition during application |
We recommend testing adhesive samples on your specific bottles before placing a large order. A label that works perfectly on a smooth, flat glass jar might lift and tunnel on a tapered PET plastic bottle.
How you apply your labels is just as important as what they are made of. Custom bottle labels are supplied either on sheets or on continuous rolls. The choice depends on your production volume and your application method.
If you are applying labels by hand and your order volume is under 500 units, sheet labels are a cost-effective starting point. They are easy to store and require no special equipment. However, hand-applying labels is slow and often leads to crooked placement or trapped air bubbles, which looks unprofessional on retail shelves.
For volumes over 1,000 units, switching to roll labels is highly recommended. Roll labels are required for any automated or semi-automated label application machinery. Even a basic tabletop manual label applicator can speed up your packaging process by 300% compared to hand application, while ensuring perfect alignment every time.
When ordering roll labels for machine application, you must specify the unwind direction. This refers to the direction the label faces as it comes off the roll. If the unwind direction does not match your labeling machine's specifications, your labels will be applied upside down or sideways. You also need to choose between a paper liner or a clear polyester (PET) liner. PET liners are stronger and do not tear during high-speed machine application.
Based on the packaging orders we process at Cubit, brands that switch from manual hand-application to a semi-automated roll applicator reduce their labeling labor costs by an average of 65% while virtually eliminating misaligned labels.
To get a crisp, clean print, your digital artwork must match the technical capabilities of the printing press. The two main production methods for custom bottle labels are digital printing and flexographic printing.
Digital printing is perfect for short runs and brands with multiple product variations. It requires no physical printing plates, meaning you can print 500 labels for five different scents or flavors without paying high setup fees. Modern digital presses offer incredible detail and color accuracy, easily matching the quality of traditional methods.
Flexographic printing, or flexo, uses flexible photopolymer plates to transfer ink onto the face stock. It has high upfront plate costs, but the run speed is incredibly fast. For runs of 10,000 or more of a single design, flexo offers the lowest per-unit cost. Flexo also makes it easier to print specific Pantone matching system (PMS) spot colors and use specialty inks like metallic or fluorescent colors.
Regardless of the printing method, you must prepare your artwork file correctly. Always build your files with a minimum bleed of 0.0625 inches (1/16 inch) to prevent white borders from showing if the cutting die shifts slightly during production. Keep all critical text and graphics inside the safe zone, which is 0.0625 inches inside the die line. All text should be converted to outlines, and images must have a minimum resolution of 300 DPI to avoid pixelation.
Depending on what you are bottling, your labels must meet specific legal standards. For food, beverages, cosmetics, and dietary supplements, the U.S. Food and Drug Administration (FDA) regulates exactly what must appear on your packaging.
Most retail bottle labels require a Principal Display Panel (PDP) on the front and an Information Panel on the back. The PDP must state the product identity and the net quantity of contents in both US custom units and metric units. The font size for the net quantity statement is legally determined by the total square inches of your label.
The Information Panel must include the nutrition facts or supplement facts panel, the ingredient list, and the name and place of business of the manufacturer, packer, or distributor. For cosmetic items, ingredients must be listed in descending order of predominance using their standard chemical names.
If you are selling alcoholic beverages, your labels must be approved by the Alcohol and Tobacco Tax and Trade Bureau (TTB) through a Certificate of Label Approval (COLA). These labels must include specific government health warnings, alcohol by volume (ABV) percentages, and class/type designations.
Using materials certified by organizations like the Forest Stewardship Council (FSC) can also help you appeal to eco-conscious consumers by showing that your paper face stocks come from responsibly managed forests.
White or clear BOPP with a matte or gloss polyester laminate is the best choice. This synthetic film resists water, soap, and friction, ensuring your custom bottle labels do not peel, fade, or wrinkle during daily use in a wet shower.
Tapered bottles are wider at either the top or bottom. If you apply a standard rectangular label, it will crease and bubble. You must create a curved label design that matches the specific angle of the taper using a specialized die-line generator.
Yes, but you must choose the right finish. You can easily write on uncoated paper labels with standard pens. If you use a plastic film, you must specify a matte laminate or write with a permanent marker, as gel pens will smudge.
At Cubit, we print digital roll labels with minimum order quantities starting as low as 100 units. This lets growing brands test new designs or launch small batches without committing to high setup fees or excess inventory.
Clean the bottle surface with isopropyl alcohol first to remove dust and oils. Apply the label starting from the center and press outward to the edges using a plastic squeegee or a soft cloth, working slowly to push air out.
Finding the right mix of materials, adhesives, and print specs takes some planning, but it keeps your brand looking professional from the warehouse to the consumer's home. If you want to check out materials in person before making a decision, you can order a custom sample kit to test different finishes and adhesives on your actual bottles.
Ready to print? Our team of packaging specialists is here to help you choose the right materials, verify your digital artwork, and make sure your labels are set up perfectly for hand or machine application.
Get a free quote for your packaging project today and we will help you build custom bottle labels that last.
Get started on your custom branding with custom Bottle Labels directly from our online marketplace, or build a personalized quote at our RFQ Procurement portal.
Design your packaging free in 60s
Try the free AI packaging design toolNeed Custom Packaging?
Get a free quote with pricing, MOQs, and turnaround time for your custom packaging project.